

SHR is removed from DSM 6. If you want SHR back you can do so by editing the synoinfo.conf.
Edit the file:
/etc.defaults/synoinfo.conf
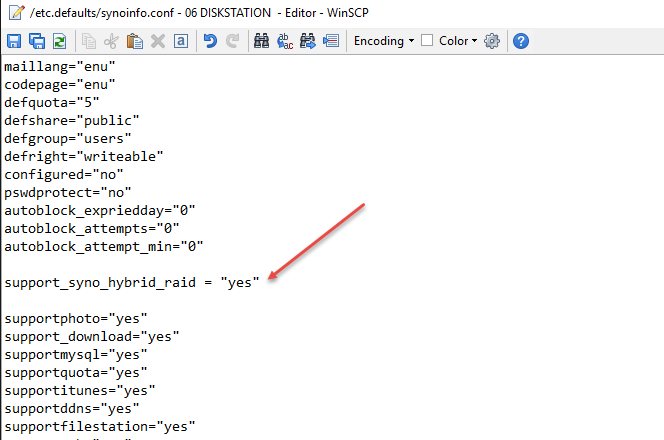
Add above the line:
supportphoto="yes"
the following line:
support_syno_hybrid_raid = "yes"
Comment the following line (put a # before the line):
supportraidgroup="yes"
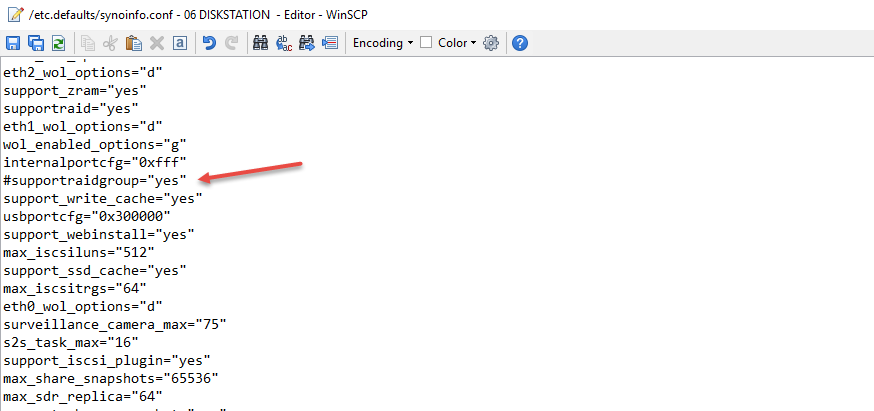
Reboot your diskstation and enjoy SHR again.
Enable ssh in DSM terminal settings.
(On windows install putty)
connect login with admin user and password
Root yourself with sudo -i (retype admin password)
Use vi editor vi /etc.defaults/synoinfo.conf
You are now in command mode
Get into insert mode press i
esc to get back to command mode
in command mode you can serch with /wordhere then edit with i
ZZ (in caps) close and save
Thank you for this great info! I got the SHR to work after following your instruction. I noticed that you were using WinSCP as a GUI tool to make changes over SSH connection. That seems like the most easier option to make changes using GUI. However, it wouldn’t allow write access by using DSM admin account alone. After some researches, I found out it also required Root access permission in order to make changes, but WinSCP doesn’t support 2nd time login with root and its password. I decided to switch to Putty and using traditional CLI console access method. Login with DSM admin account, then login in again with the command: sudo -i and it should prompt for password again. It should be the same password as Admin account. After that, I used the build-in VI text editor, and i was able to modify and save the config file. After the reboot, SHR was back again!